Tutorial: Creating and Editing Multicam Sequences in Final Cut Pro X
When Apple originally released Final Cut Pro 10, the biggest deficit for Pro users was the lack of multicam. With the 10.0.3 release, Apple has addressed this with a highly functional and easy-to-use multicam feature, which Jan Ozer explains in this tutorial.
One of the most important features in Final Cut Pro 10.0.3 is multicam editing. In this tutorial, you'll learn how to create and edit a multicam clip.
Import Your Content
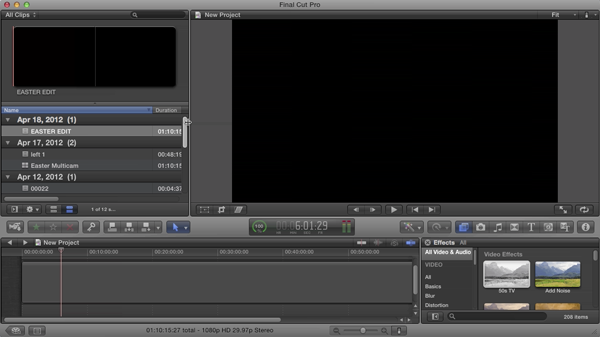
You'll start by importing your content, which you can see in the example project in Figure 1 (below) that I've already done here. Let me explain the project a bit. This is a church production I shot last Easter, and I used three HDV cameras.

Figure 1. Content imported and ready to cut.
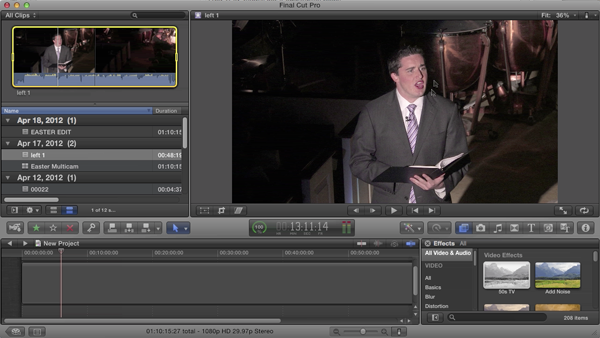
Figure 2 (below) was the left camera that pretty much was focused on capturing this gentleman, who is narrating from the left-hand aisle.

Figure 2. Left camera.
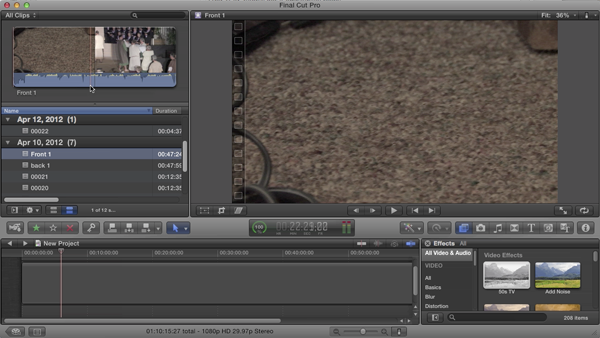
Figure 3 (below) shows the front camera, which I used to follow the action.

Figure 3. Front camera.
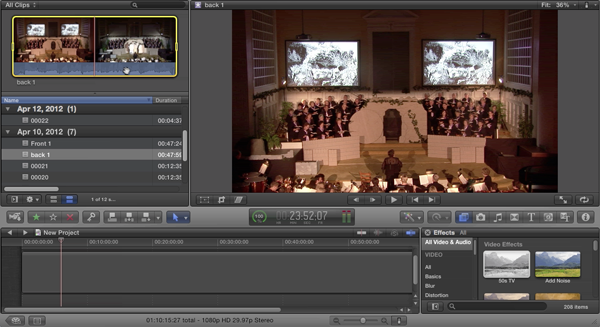
Figure 4 (below) shows footage from the back camera, which was static.

Figure 4. Back camera (static).
Related Articles
Background noise and pops and clicks in audio are an unfortunate fact of life for many productions. In this tutorial we'll explore some fixes you can try in Final Cut Pro X.
Jan Ozer sits down with Bill Roberts to discuss the trends impacting the future direction of Adobe Creative Suite for video pros, including the decline of 3D, the rise of 4K, and second-screen viewing. Other topics included the growth of Creative Cloud, and the development arc of Apple Final Cut Pro X.
The histogram and the waveform in Apple Final Cut Pro X are effective, easy-to-master tools that provide the clear input you need to diagnose and fix the contrast issues in your video simply and intelligently. In this video tutorial, video editing and encoding expert Jan Ozer explains how they work.