Tutorial: Creating a Two-Camera Interview from a One-Camera Shoot
One-on-one interviews shot with two cameras pack a lot more punch than single-camera interviews, simply because they allow you to cut from two-shots of both participants to one-shots focused on the interviewee without distracting and unprofessional-looking zooms. So, how do you get that two-camera look when you've only got one camera available? This tutorial explains how, using Adobe Premiere Pro CS6 for the edit.
Rough-Cutting the Footage
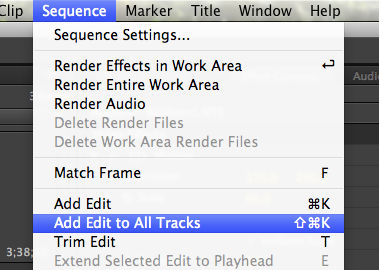
Now, when I scrub through the video to rough-cut it, choosing the two-shot when Eric asks the questions, and cutting to the one-shot when Daria answers, I'll add edits at the appropriate cut points (Figure 11, below). You can use the Add Edit function shown in the figure or just press the C key to convert the pointer to the Razor blade, and split the clip with that. Pressing the letter V returns you to the normal pointer.

Figure 11. Adding edits to cut between shots
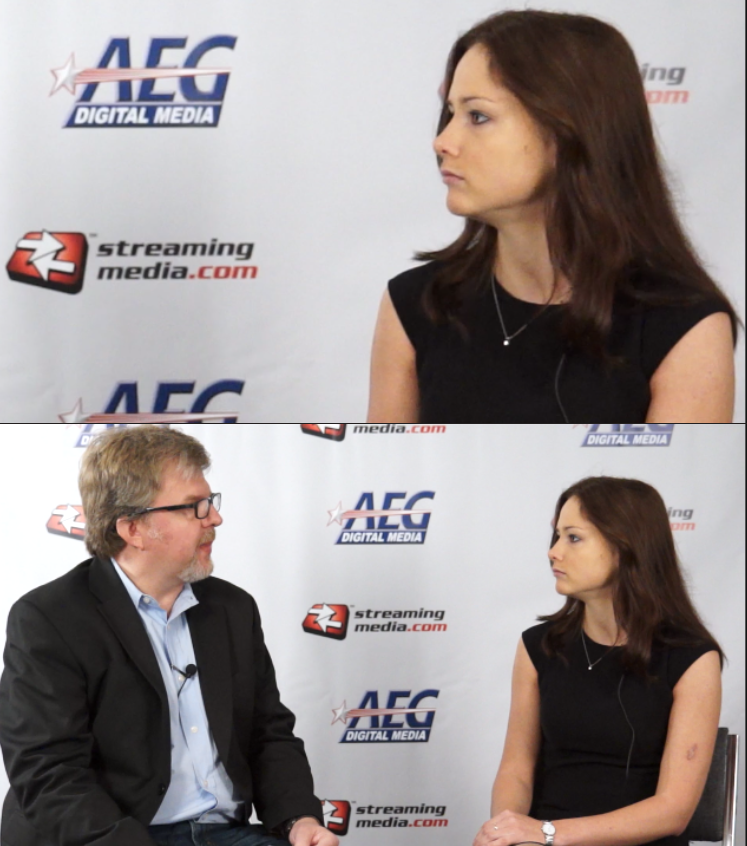
Then, in the new clip that's created, I'll drag in the Balakam One-shot or Balakam Two-shot Motion preset as needed to switch to the appropriate shot. Figure 12 (below) shows the cut from the one-shot to the two-shot by dragging in the Balakam two-shot preset to the clip where Eric starts to ask his next question.

Figure 12. One-shot and two-shot at the same point in the timeline
And there you have it: a two-camera interview created from a single camera's footage, and no one's the wiser (until now). The final clip appears below. You can see both the real and simulated two-camera Red Carpet Interviews at StreamingMedia.com/RedCarpet.