Tutorial: How to Edit in Final Cut Pro X’s Magnetic Timeline
The magnetic timeline is one of the major revolutionary changes in Apple Final Cut Pro X, and one of the areas editors struggle with when they're coming from track-based NLEs. In this tutorial we'll break it down and show you how to make it work for you.
Overriding Magnetic Behavior with the Position Tool
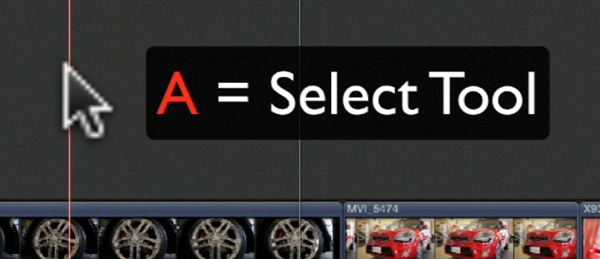
That’s an important attribute to understand about the magnetic timeline. It wants to fill every available spot at all times. There are going to be a lot of instances where you’re going to want to override the magnetic behavior of the Primary Storyline. Thus far we’ve worked only with the normal edit/selection tool (A, Figure 10, below). It looks like just an arrow.

Figure 10. The selection tool (A)
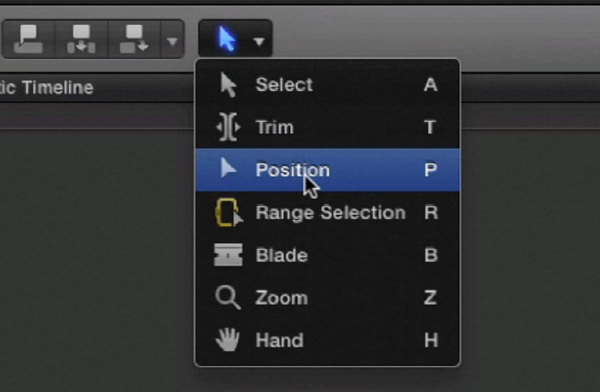
There’s another tool available. It’s called the Position tool (P). And as you notice in Figure 11 (below), there’s a subtle difference between these two arrows: the Position tool doesn’t have the tail on the arrow. As you toggle between the Selection tool and the Position tool by hitting P on the keyboard, the little tail disappears.

Figure 11. The Position tool (P)
The Position tool differs from the Selection tool in that once you grab a clip and move it, it overrides the magnetic nature of the timeline. When you move clips with the Position tool, FCP X lets them stay wherever you move them instead of snapping them back. Bear in mind that when you move things around with the Position tool, it will overwrite adjacent clips and it will leave gaps if you create them.
Using the Selection Tool for Ripple Edits
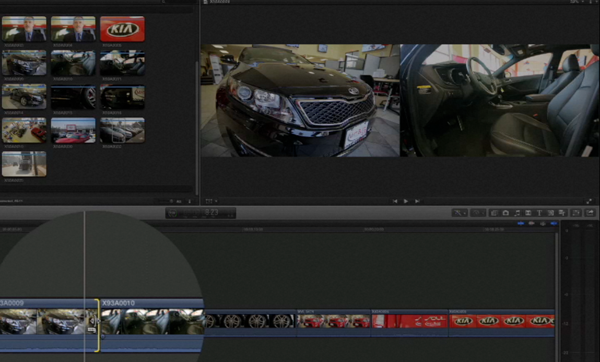
The Selection tool also doubles as a Ripple tool. Once you hover your cursor over an edit point you’ll see a bracket--either left bracket or right bracket--and that’ll determine which side of the edit point you’re grabbing (Figure 12, below). If the bracket is to the right, it’s choosing the clip to the right. You can actually see that once you click.

Figure 12. Using the Selection tool for ripple editing
Once you start to drag you’ll see it’s basically clipping off the beginning of a clip or making it longer, but not overwriting the next clip. If you drag it to the right, it pushes downstream clips out and lengthens the timeline. So, it’s a very effective way to go in and slug a bunch of clips down to your timeline and make a rough cut and then go in there and tweak it using this tool. You can see an example of this at the 8:09 mark of the video that accompanies this article.
In Final Cut Pro 7 there was the RR tool--the ripple tool--and this automatically becomes a ripple tool when you hover it. That’s what I think is one of the brilliant things about Final Cut Pro X: It looks like it has a lot less tools, but these tools just work in a more efficient manner.
When I do edits with the ripple tool I have detailed trimming feedback turned on, so when I click an edit point I start to drag it, in the top there you’re going to see two windows (Figure 13, below). And the window on the left is the clip to the left, and the window on the right is the clip to the right. You see the clip to the left is not moving because we’re rippling, we’re not affecting the previous clip, we’re only affecting the in point of the clip on the right. And likewise if we grab the clip on the left and drag that, you see that.

Figure 13. Detailed trimming feedback
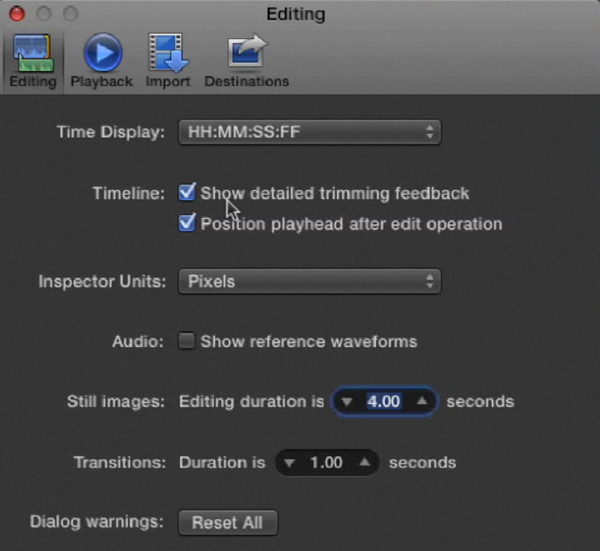
I don’t believe this is on by default (although it should be). To activate it, go to the Editing tab in the Preferences menu and select the “Show detailed trimming feedback” checkbox (Figure 14, below). If you toggle that off, it will show you only the clip that you’re adjusting. When you toggle it on, it shows you the adjacent clip.

Figure 14. Toggling detailed trimming feedback on and off.
Related Articles
Here's a look at two workflows for applying film grain to your footage in FCP X using cineLook (with and without Gorilla Grain), first with 4k footage shot with the Blackmagic Production Camera, and then with Cinestyle-flattened DSLR footage.
In our first tutorial on the recently released FCP 10.1, we look at the new Libraries feature, which enhances project and media organization and eases the adjustment for editors transitioning from FCP 7.
This tutorial on Apple Final Cut Pro X takes a closer look at color correction in the Inspector, exploring the Balance Color, Match Color, and Color Mask and Shape Mask features.
This tutorial on Apple Final Cut Pro X inspects the Video Inspector, a context-sensitive area of the FCP X interface that allows you to change settings of various filters and settings, and focuses on making basic but effective color adjustments.
In this video tutorial Glen Elliott of Cord3Films looks at FCP X's Timeline Index which provides innovative options for viewing, navigating, and searching your projects, including three different types of timeline markers and the ability to create a navigable To Do list of editing notes that's indispensable for collaborative workflows.
In this tutorial, Cord3Films' Glen Elliott demonstrates how to mix audio from multiple off-camera sources in a multicam edit in Apple Final Cut Pro X.
In part 2 of our series on multicam editing in Final Cut Pro X, Glen Elliott explains how you can accelerate and streamline the multicam-syncing process in Red Giant's PluralEyes 3.
Our Final Cut Pro X tutorial series continues with the first installment of a 3-part series on multicam editing in FCP X, addressing the basics like creating a multicam clip and cutting and switching audio and video using the Angle Editor.
Working with compound clips in FCP X is similar to nesting sequences in Final Cut Pro 7. Once you understand how it works, and how changes to compound clips can ripple across projects, it's a powerful feature that you'll find yourself using more and more.
In this tutorial, we'll look at several ways you can use connected storylines to enhance your FCP X edits and mix in cutaways and creative shots in a quick and efficient way.
This tutorial explores advanced editing techniques in FCP X including back-timing your edits, replacing edits and auditioning, top-and-tail editing, extend edits, trim-to-selection edits, keyboard trimming, and the Precision Editor.
In this first installment of our new tutorial series, Glen Elliott demystifies Final Cut Pro X, illustrates its core functions, and focuses on one of the most powerful new features for organizing, accelerating, and streamlining your edits: metadata keyword tagging.